
donderdag 7 januari 2016
Vlog #8: Teeny tiny Beads!
Krijg ik kleine ieniemini kraaltjes aan mijn Fenna garen? Ik probeerde het en ik leg je twee manieren uit hoe je mini kraaltjes aan garen voor haak/brei projectjes kunt krijgen
~~~~~~~~~~
Note: From now on my Vlogs will be in Dutch, simply because it felt unnatural to do it in my second language (English). But I think the non-verbal communication will help you understand :)
I wanted to try (and it was my first attempt) at getting tiny beads stringed to yarn for my upcoming design :) Watch the video to see if I succeeded!
xxx
Barbara

woensdag 6 januari 2016
New Year Resolutions!


Natuurlijk duurde kerstvakantie veel te kort. Nog een weekje langer thuis was geen overbodige luxe geweest, maar helaas, school roept weer! Aan de ene kant jammer, aan de andere kant is het ook wel weer prima om in een ritme te komen nietwaar?
In de vakantie hebben we vooral uitgerust en ben ik druk bezig geweest met de MCAL and allerlei zaken achter de schermen zoals updates en de nieuwe nieuwsbrief (zie in de zij strook)!
Hier thuis werd gespeeld, probeersels werden gekookt en vooral veel gegeten. Oo, mijn broek zit strak! Oeps.
Tussendoor werd er rustig doorgehaakt aan een nieuw ontwerp. Nog steeds langzamer dan ik zou willen, maar sneller dan voordat ik mijn fysiotherapie oefeningen deed. Daar ben ik echt heel blij om!
Verder waren er strubbelingen rondom de test van de MCAL maar als het goed is is alles nu opgelost... Phew! Ik had echt wat stress om alles op tijd rond te krijgen aangezien er een aantal testers op zijn elf-en-dertigst aan het haken waren terwijl de deadline stond.. Mijn Nederlandse vertaling controleur is ook foetsie, maar gelukkig kwam een Facebook-kennis to the rescue. Als het goed is moet het nu gaan lopen. Hopelijk is de volgende MCAL een fluitje van een cent, want nu ben ik toch wel gepokt en gemazeld (hoop ik)!
De kindjes hadden veel pyjama dagen, een logeerpartij, zijn ups en downs (als in ruzie maken onderling) maar hadden gelukkig weer zin om naar school te gaan...
En januari komt natuurlijk met de hoop dat het nieuwe jaar veel goeds brengt! Ik neem me het volgende voor:
- een bloemen haken challenge
- alle patronen gratis zetten (gebeurt deze week)
- meeeeeeeer tutorials
- meer vloggen, en nu alleen in het Nederlands
- eens kijken hoeveel bolletjes wol ik kan opmaken dit jaar :) en ahem, even niks kopen :)
- nog een MCAL hosten
Wat zijn jouw voornemens voor 2016 op het gebied van haken?
~~~~
As always, the christmas vacation was a little bit short. One week longer would have been nice, but alas, we had to go back to work and school! It does feel good, getting back into the groove I have to admit.
During the vacation we slept in and worked hard behind the scenes on the MCAL and the new newsletter and updating a lot.
There was a lot op playing, cooking and eating during the last two weeks and I hate to admit it but boy my jeans are a little bit too tight...
And in the mean time I crochet on and on. I am still not crocheting much due to my tennis elbow but more than a few months ago before starting the excersises my physicial therapist subscribed.
There were a few problems with the testing phase of the MCAL and I was getting a bit worried, but right now it seems all solved. Unfortunately the lady who offered to check my Dutch translations went missing, but luckily one of my Facebook friends offered to do it. Phew!
The kids slept in and had their on and off days (lots of fighting sometimes), they even went on a sleepover, but I was glad to hear they wanted to go to school to see their friends!
So with Janaury well underway I have made a few resolutions for you guys to see on the blog:
- I will challenge myself with a flowery crochet challenge
- I will post more more more tutorials!
- the vlogging continues but will be in Dutch (sorry!)
- I will put in extra effort to use up lots of yarn this year :) and NOT buy anything new :) (yeah right)
- and I will definately host another MCAL
What are your yarny/crochet related resolutions for 2016?
maandag 4 januari 2016
zaterdag 2 januari 2016
January Link Party #1

Ik ben nog niet helemaal wakker... Nog even bijkomen van de korte nacht!
Ik wens iedereen een superfijn 2016!
~~
I am not fully awake yet, boy it has been a short night on New Year's Eve!
I wish you all a superb 2016!
Here is the top 3 most clicked links from last months Link Party.
Enjoy!


vrijdag 1 januari 2016
Winter MCAL "Dionaea" : Clue 1
 |
| Source |

*Scroll down for the English translation!*
Ik hoop dat jullie er klaar voor zijn? Nu gaan we echt beginnen met het patroon.
Goed lezen is het advies van mij. Aan dit patroon zit ook een tutorial vast. De speciale steek in dit patroon is de "camel stitch", en de tutorial hiervoor vind je HIER.
Dionaea is de naam voor deze shawl. Ik vond het deze keer heel moeilijk om een naam te koppelen aan de kleuren van de shawl. Ik ben gecharmeerd van de biologische naamgeving van planten dus ik probeer een mooie bloemen of planten naam te vinden voor een nieuw patroon (of iets anders als het er maar bij past!).
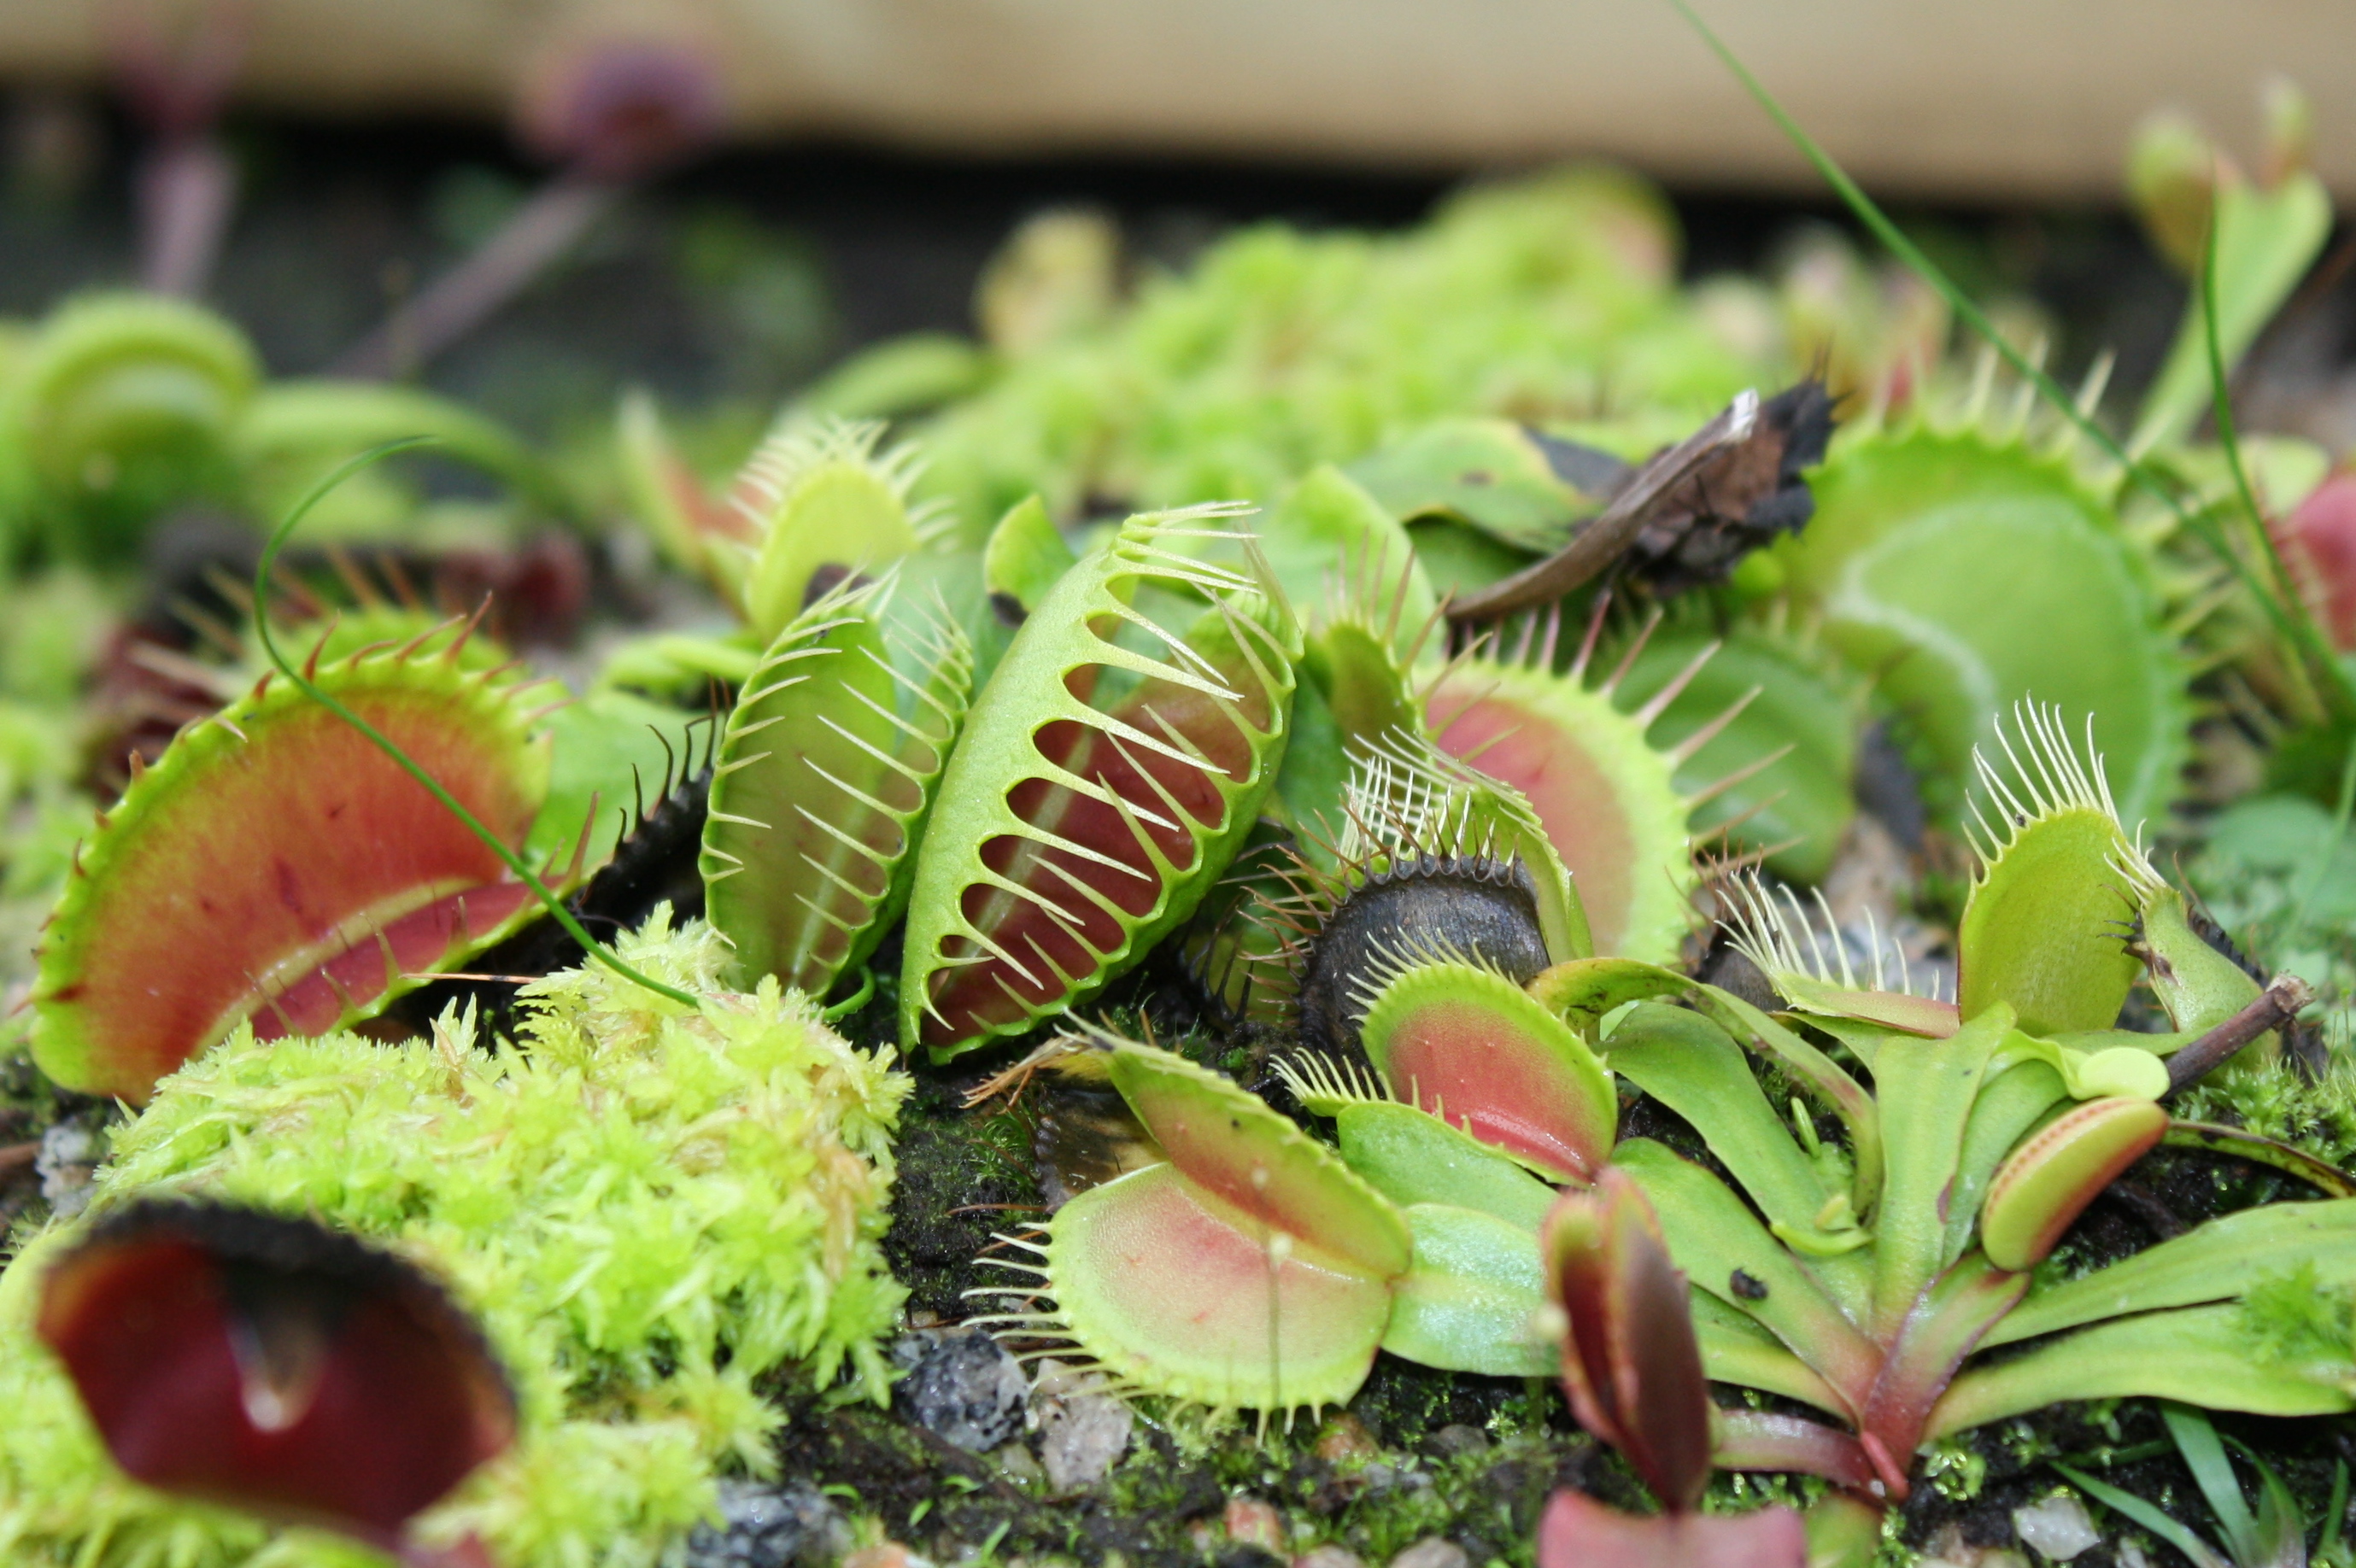
Deze shawl is een combinatie van groen, roze en wit. En ik vond deze kleurencombinatie bij de Venusvliegenvanger oftwel de Dionaea Muscipula, het gekke plantje dat zelf zijn vliegen vangt en verteert met de (enzym)stoffen die hij afscheidt. Het vanggedeelte is vaak groen met roze aan de binnenzijde, en als hij bloeit heeft hij kleine witte bloempjes. Ik vind het een leuke plant, en ik heb hem ook wel gehad maar helaas deed hij het niet bij ons!
Nu, lieve dames, daar gaan we.
HIER vind je de algemene informatie over de garens als je terug wilt kijken naar vorige week.
Alle links naar aanwijzingen vind je HIER.
Deel 1
Garen: 3 ballen Adriafil New Zealand Print (200 mtrs/100g),
2 ballen Adriafil Soffio Plus (150 mtrs/50 g)
Haaknaald: 5 mm
Gebruikte steken
lossen, vasten, stokjes en de “camel
stitch”
Camel stitch: zie tutorial HIER
Notities
GK: Goede Kant
VK: Verkeerde Kant
Kleur A: Print in donker roze (kleur 042)
Kleur B: Soffio Plus in creme (kleur 041)
Om de middelste steek van je toeren te vinden, gebruik een
stekenmarkeerder voor deze steek.
Gebruik ook een stekenmarkeerder na je eerste asymmetrische
meerdering. Steek deze aan de zijkant in een steek (aan de goede kant) in een
steek van de helft waar je asymmetrisch meerdert. Iedere keer dat je de
stekenmarkeerder naar je toe hebt gekeerd maak je dus een vier steken in de eerste
steken van die toer.
Om je steken makkelijker te tellen aan beide zijden van de
shawl gebruik ik een X|X|X symbool. De eerste X staat voor het aantal steken
aan de eerste zijde van de shawl. De tweede X is de middelste steek (en is
altijd 1). De tweede X staat voor het aantal steken bij de tweede helft van de
toer (de andere zijde van de driehoek).
Stekenverhouding
Na het haken van het eerste gedeelte zal
je driehoek ongeveer 43 cm wijd zijn (bij het wijdste gedeelte). Ik haak heel
los. Als je driehoek kleiner uitvalt, pak dan een grotere haaknaald. Valt je
driehoek groter uit, pak dan een kleinere haaknaald.
Haak 3 lossen, en sluit met een hv tot een ring.
1) (GK) Haak 3 lossen (telt als een stk gedurende het patroon), 8 stk in de ring, markeer 5e st als middelste st. Keer. (4|1|4)
2) (VK) Haak 3 lossen, 2 stk in zelfde st, 1 stk in volgende 3 st, 5 stk in middelste st, 1 stk in volgende 3 st, 3 stk in laatste st. Keer. (8|1|8)
3) (GK) Haak 3 lossen, 2 stk in zelfde st, 1 stk in volgende 7 st, 5 stk in middelste st, 1 stk in volgende 7 st, 3 stk in laatste st. Keer. (12|1|12)
4) (VK) Haak 3 lossen, 2 stk in zelfde st, 1 stk in elke volgende st tot middelste st, 5 stk in middelste st, 1 stk in elke volgende st tot laatste st, 3 stk in laatste st. Keer. (16|1|16)
Laat kleur A vallen, en wissel naar kleur B. Alle toeren met vasten worden aan de goede kant (GK) van de shawl gemaakt (dus met die kant naar je toe gemaakt).
5) (GK) Haak 1 losse, 2 v in eerste st, 1 v in volgende 15 st, 5 v in middelste st, 1 v in volgende 15 st, 2 v in laatste st. Niet keren. Hecht kleur B af (19|1|19)
Wissel van kleur door de lus waar mee je werkt met kleur A op te halen (door de eerste steek). Zorg dat de voorkant van de vasten naar je toegekeerd zijn voor de volgend toer. Vanaf nu heb je een goede en een verkeerde kant van je shawl.
6) (GK) Haak 3 lossen, 3 stk in zelfde st, 1 stk in volgende 18 st, 5 stk in middelste st, 1 stk in volgende 18 st, 3 stk in laatste st. Keer. (24|1|23)
Plaats markeerder in eerste helft van deze toer. Deze helft wordt de asymmetrische zijde.
7) (VK gebruik camel stitch) Haak 3 lossen, maak 2 stokjes bij de eerste st, stk bij ieder volgend stk tot de middelste st, 5 stk om middelste st, stk bij ieder volgend stk tot laatste st, 3 stk om laatste st, keer. (27|1|28)
8) (GK, gebruik camel st) Haak 3 lossen, maak 3 stokjes bij de eerste st, stk bij ieder volgend stk tot de middelste st, 5 stk om middelste st, stk bij ieder volgend stk tot laatste st, 3 stk om laatste st, keer. (33|1|31)
9) (VK) herhaal toer 7 (35|1|37)
10) (GK) herhaal toer 8 (42|1|39)
11) (VK) herhaal toer 4 (43|1|46)
~~~~~~~~
Well ladies, here we go!
The shawl is called "Dionaea" after much searching on the internet. The Dionaea muscipula is also known as the Venus Flytrap, such a cute plant trapping its own food and digesting it after a fly gets caught into the cage like petals. It was the only plant I could find with the same colours as the yarn I used. I really like to name my shawls after flowers and the Venus fly trap has beautifiul green on the outside, lush pink on the inside of the leaves and when it thinks its time to reproduce it makes tiny white flowers. We had one once, but it died because I wasn't watering it enough...
So here we are, the first part of the MCAL!
You can find all the directions HERE and if you want to look back to last week and find out about the yarns I have used for this shawl click HERE
Well ladies, here we go!
The shawl is called "Dionaea" after much searching on the internet. The Dionaea muscipula is also known as the Venus Flytrap, such a cute plant trapping its own food and digesting it after a fly gets caught into the cage like petals. It was the only plant I could find with the same colours as the yarn I used. I really like to name my shawls after flowers and the Venus fly trap has beautifiul green on the outside, lush pink on the inside of the leaves and when it thinks its time to reproduce it makes tiny white flowers. We had one once, but it died because I wasn't watering it enough...
So here we are, the first part of the MCAL!
You can find all the directions HERE and if you want to look back to last week and find out about the yarns I have used for this shawl click HERE
Part 1
Yarn: 3 balls of Adriafil New Zealand Print (200 mtrs/100g),
2 balls of Adriafil Soffio Plus (150 mtrs/50g)
Hook size: 5mm/H
Used stitches
ch, sc, dc, camel stitch
Camel stitch (for pictures and/or video CLICK HERE:
- Camel dc stitch on right side: yo, insert hook
underneath loops of adjacent stitches from right to left, make dc.
- Camel dc stitch on wrong side: yo, insert hook
underneath loops of adjacent stitches from right to left, make dc.
Notes
RS: right side
WS: wrong side
Colour A: Print in Dark Pink (colour 042)
Colour B: Soffio Plus in cream (colour 041)
For easier reference, put stitch marker in center stitch.
After your first irregular increase, mark that side of your
shawl with a stitch marker (use a stitch of that first row on the side you have
put four stitches into the first stitch). Each time you are facing the stitch
marker you will know you have to make four stitches in your first stitch.
For easier counting I am putting a reference to the stitches
made on each side with an X|X|X symbol. The first X will represent the stitches
made on the first side whilst following the directions, the middle X the center
stitch, and the last X the stitches on the second side.
The middle X will
always be 1.
Gauge
After finishing the first part, your triangle should
be measuring 17 inches or 43 cm wide along the base. I crochet very loose, so I
should suggest go up a size if you are a tight crochter.
Ch3, sl st to close
1) (RS) Ch3 (counts as a stitch throughout the pattern), 8 dc in ring, mark the 5th st as center stitch, turn (4|1|4)
2) (WS) Ch3, 2 dc in same st, 1 dc in next 3 st, 5 dc in center st, 1 dc in next 3 st, 3 dc in last st, turn (8|1|8)
3) (RS) Ch3, 2 dc in same st, 1 dc in next 7 st, 5 dc in center st, 1 dc in next 7 st, 3 dc in last st, turn (12|1|12)
4) (WS) Ch3, 2 dc in same st, dc once in each following st until center st, 5 dc in center st, dc once in each following st until last st, 3 dc in last st, turn (16|1|16)
Drop colour A, change to colour B. All sc
rows will be made with the right side (RS) of the shawl facing towards you.
Change colour by pulling up your working
loop from colour A through the first stitch of row 5 and keep in mind that the front of the sc stitches must be
facing you for the next row. You will now have a wrong and a right side of the
fabric.
7) (WS, use camel stitch for each dc) Ch3, dc 2 times around first st, dc around each next dc until center st, dc 5 times around center st, dc around until last st, dc 3 times around last st, turn. (27|1|28)
8) (RS, use camel stitch for each dc) Ch3, dc 3 times around first st, dc around each next dc until center st, dc 5 times around center st, dc around each dc until last st, dc 3 times around last st, turn. (33|1|31)
9) (WS) Repeat row 7 (35|1|37)
10) (RS) Repeat row 8 (42|1|39)
11) (WS) Repeat row 4 (43|1|46)
donderdag 31 december 2015
How To: The Camel Stitch / Platte Ribbelsteek

Dit is de steek die je nodig gaat hebben voor de aankomende MCAL en hij is zo leuk. Hij geeft net een leuk ribbeltje omdat je zo in de lussen werkt dat de bovenkant van je steken naar boven wordt gewerkt.
Kijk vooral de video, dan wordt het helemaal duidelijk!
Veel plezier.
~~~~~~~~
This is the stitch you will be needing for the upcoming MCAL and it's such a fun stitch! It gives a nice ridge on top of your work as you are lifting up the top of your stitches by working underneath them.
Have a look at the video and you will understand what I mean!
Have fun.
Foto tutorial:

Onthoud goed, de steek werkt verder als een normaal stokje, voordat je insteekt moet je eerst een omslag maken. Daarna steek je dus op een andere manier in, maar maak je hem op de normale manier af.
Als je de goede kant naar je toe hebt werk je aan de achterkant van je werk.
Remember, this stitch works as a normal dc, so before you insert your hook make a yarn over. Then you are going to insert your hook in a special way into stitches, but will be finishing it like an oldfashioned dc.
If you have the right side of the fabric towards you, you will be working at the back of your work.


Laat de naald onder de bovenste lusjes van naast elkaar liggende steken glijden, haal een lus op
Slip needle underneath top loops of adjacent stitches and pull up a loop

Maak een normaal stokje
Finish like you would normally do with a dc


Hier is nog een voorbeeld
Here is another example


En zo ziet het er uit na een complete toer!
And this is how it looks after a whole row of camel stitches!
Camel stitch on back of work/Camel stitch aan achterzijde werk


Het werkt hetzelfde, laat je haaknaald onder beide bovenste lussen van naast elkaar liggende steken glijden maar werk aan de kant die naar jou toe is gekeerd
It works the same, just slide your needle underneath the top loops of adjacent stitches but work on the side facing you


Dit is hoe het eruit ziet aan de goede kant van je werk. Alle lussen worden nu naar 1 kant geduwd.
This is how it looks on the right side of your fabric. All loops will be pushed to one side of the fabric.
Abonneren op:
Posts (Atom)