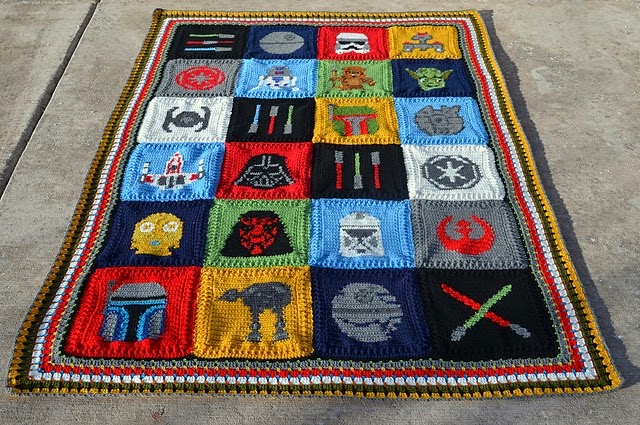
Dit kan echt iedereen met een naaimachine! Serieus. Geloof me. Zoek je een snel dekentje voor jezelf of als cadeautje? Dit lieve dekentje maakte ik voor Kathelijne, en showde het gisteren.
Wil je hem zelf maken? Ik beschrijf het heel globaal en geef links naar tutorials die ik zelf heb gebruikt. Je kunt het!
Wat heb je nodig?
Naaimachine
Quiltgaren (Gutermann katoen bijv) in het spoeltje voor onderdraad en bovenop de machine
Bias band (minstens 4x zo veel als de breedte van je quilt)
2 leuke stofjes van ongeveer 1.50 bij 1.50 (dit is genoeg voor een kinderdekentje of kleiner in het geval van een baby deken), de hoeveelheid stof van de stof aan de voorkant moet kleiner zijn dan de achterkant.
Tussenvoering (katoen of synthetisch) in een iets kleinere maat dan de achterkant. (zie ook link over sandwichen)
Spelden
evt. losse quiltnaald
textielstift
geleider (zie foto)
1. Knip de stukken stof en de tussenvoering van 1.50x1.50 of in gewenste maat.
2. Maak een
sandwich van alledrie de lagen met wateroplosbare lijmspray (Action!) of rijg of speld de lagen vast.
3. Zoek het midden op van de stof en zet een lijn over de breedte of de lengte. Het maakt niet uit, gewoon de middellijn!~
4. Zet de naaimachine op standje 1 mm, zet de naald in de middellijn, naai ongeveer 5 mm, ga terug, en weer heen. Zet na die 5 mm de naaimachine op 1.5 en stik de middellijn volledig door. Kom je aan bij de laatste 5 mm dan zet je hem weer terug op 1 mm, naai tot het einde en hecht af door eerst terug en dan weer heen te gaan.
5. Zet nu de geleider in je voetje, en kies een afstand die je wilt aanhouden tot je naad. Ik koos voor iets minder dan 7 cm (7 cm was het maximale).
6. Zet de geleider op de middellijn en stik dus op ongeveer 7 cm afstand de deken door. Zo werk je de hele eerste helft af.
7. Draai de quilt om, zoek weer de middellijn en werk de andere helft af.
8. Maak netjes alle hoeken recht met behulp van
deze tutorial.
9. Begin dan met bias band. ALLES maar dan ook ALLES over het vastnaaien van dit bandje deed ik met
deze tutorial. Alleen stikte ik de bias band door na het dichtvouwen. Dat deed ik met behulp van
deze tutorial. Niet helemaal perfect, maar hij zit mooi dicht!
Klaar! Stop de eindjes
bij de bias band weg met de quiltnaald.
~~~~~~~~~~~~~~
My little girl is very happy with her very own quilt! It was very easy to make and I think you can do it as well! So for this weeks tutorial I thought "let's do something else instead of crochet!" If you have a sewing machine, you can absolutely do this! I give you basic instructions and provide links to sites I used myself.
Go for it!
You'll need
2 big squares of fabric (about 55" square), the fabric that is going to be the back of the quilt has to be about 2" larger than the fabric that is going to be the front.
1 big square of batting, a little bit bigger than your front fabric.
Quilt thread
Sewing machine
Quilting bar (see picture)
Pins
Bias band (at least 4 times the width of your blanket)
Quilting needle
fabric marker
1. Cut your fabric and batting in the desired size
2. Mak
2. Make a
sandwich of all three layers with watersoluable glue spray, or pin all layers together
3. Find the center of your quilt and mark a line in the center from top to bottom.
4. Put the needle of your sewing machine and select smallest stitch (1 mm), sew 1/4", go back, and sew another 1/4", select 1.5 mm and stitch along the marked line in the center of the quilt.
4. Zet de naaimachine op standje 1 mm, zet de naald in de middellijn, naai ongeveer 5 mm, ga terug, en weer heen. Zet na die 5 mm de naaimachine op 1.5 en stik de middellijn volledig door. Kom je aan bij de laatste 5 mm dan zet je hem weer terug op 1 mm, naai tot het einde en hecht af door eerst terug en dan weer heen te gaan.
5. Attach quilting bar to sewing foot. Select a distance you want between the middle and the next stitch line and put the quilting bar on your first stitch line. And sew a second line (I chose about 7 cm, the widest distance allowed by the quilting bar).
6. Continue this for the first half of the quilt.
7. Turn quilt, and stitch the second half of the quilt.
8. If needed, square off your quilt with
this tutorial.
9. Start with the binding! Either make your own or use bias binding from the store. I used every step (just not last) of
this tutorial. It is such an awesome tutorial! I did not close the binding by hand, but stitched it shut on the back of the quilt with help of
this tutorial.
Done!
Hide any ends with help of a small sewing or quilt needle.
Have fun
xx


